The Tokyo Train System Isn’t Scary: An Insider’s Guide to Not Getting Lost
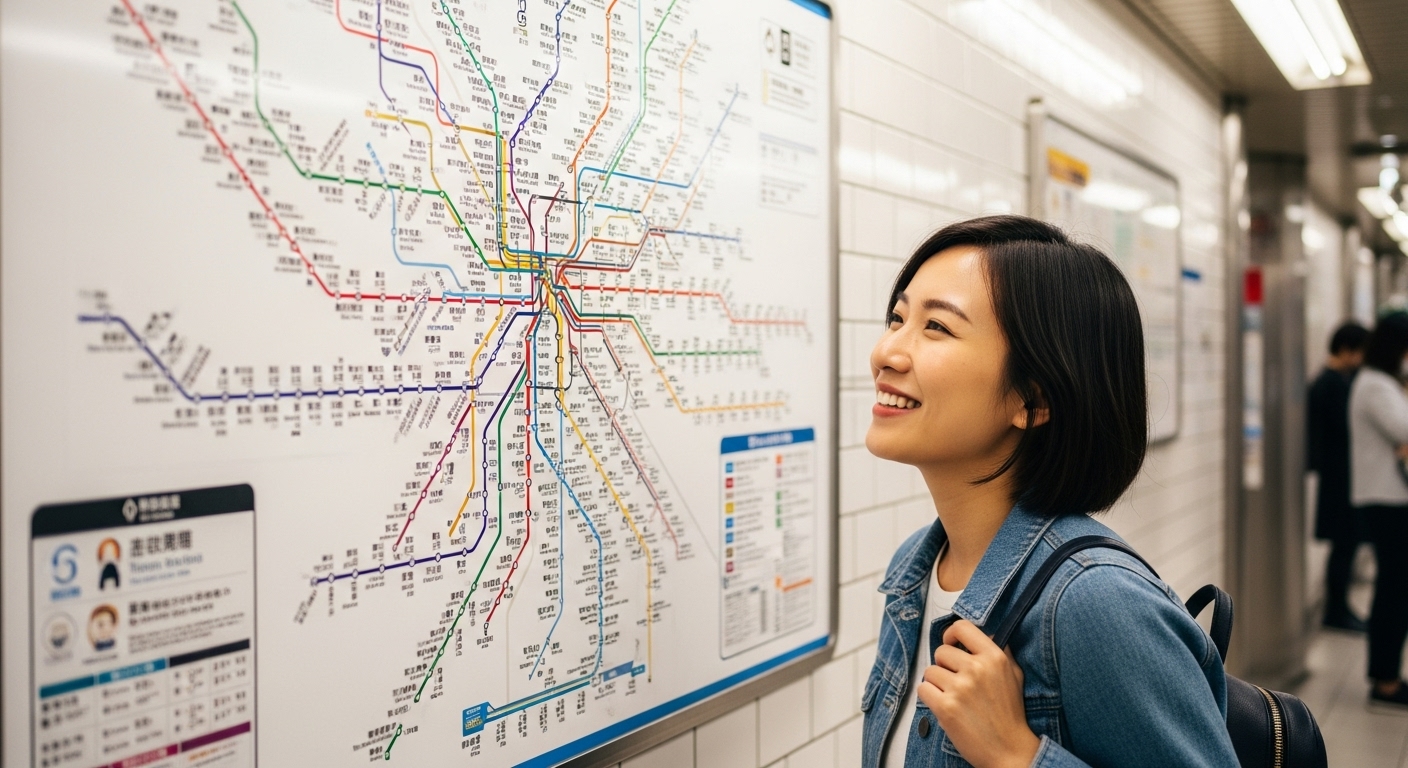
So, you’ve seen it. That picture of the Tokyo train map. The one that looks like an angry bowl of colorful, electric spaghetti.
It’s the image that makes most travelers think, “Maybe I’ll just walk. Everywhere.”
Let’s stop right there. As your “Best Friend” in Japan, I’m here to tell you the most important secret of Tokyo travel: That map is NOT for you. You don’t need to understand it.
Seriously. Locals don’t have it memorized. We use a few simple hacks to get around, and today, I’m sharing those hacks with you. By the end of this article, you’ll be navigating Tokyo like a pro.
Hack #1: Your “Magic Key” (The IC Card)
Forget buying paper tickets for every ride. That’s slow, confusing, and how you get trapped at the ticket gate.
Your #1 priority is to get an IC Card.
- What it is: A rechargeable “tap-and-go” card. The most common ones are Suica (Green) and Pasmo (Silver).
- Does it matter which one? No! They are 99.9% identical and work on all trains, subways, and buses.
- How to get one: You can buy a physical card at a station machine, OR…
The ULTIMATE Friend’s Hack: Add Suica or Pasmo directly to your Apple Wallet / Google Pay on your phone. You can recharge it with your credit card instantly, and just tap your phone to go through the gate. It feels like magic.
Hack #2: Forget the Map, Use the App
This is the secret weapon. Do not try to read the big map on the wall. Do not try to plan your route by “line colors.”
Just use Google Maps.
- Type in your destination (e.g., “Shinjuku Station to Asakusa Temple”).
- Hit “Directions” and select the “Train” icon.
- Google will tell you:
- Exactly which line to take (e.g., “JR Yamanote Line”).
- The platform number (e.g., “Track 14”).
- The exact cost (which will be automatically deducted from your IC Card).
- The transfer stations.
That’s it. We locals use Google Maps every single day. You are not “cheating” by using it; you are traveling exactly like a local.
Hack #3: Know the “Big Two” (JR vs. Subway)
You don’t need to know all 80+ lines, but it helps to know the two main “companies” you’ll be using.
- JR East (The Green Loop):
- Think of this as the “main” overland train.
- You will live on the JR Yamanote Line (the light green loop).
- This one line connects almost all the big spots you want to visit: Shinjuku, Shibuya, Harajuku, Ueno, Akihabara, and Tokyo Station.
- Our “Where to Stay” guide? The Yamanote line connects them all.
- The Subways (Tokyo Metro & Toei):
- These are the “underground” trains.
- They are perfect for filling in the gaps inside the Yamanote loop (e.g., places like Ginza, Roppongi, Asakusa).
The key takeaway: Your IC Card (Hack #1) and Google Maps (Hack #2) work perfectly on ALL of them. You don’t need to worry about which company you’re using. Just tap and go.
A Friend’s Guide to Train Manners (The 3 Real Rules)
You might have heard that Japanese trains are silent. It’s mostly true, but don’t stress. Just follow these three simple rules to be a great train guest.
- Phones are Silent: You can use your phone (everyone is), but keep it on silent mode. NEVER take a phone call on the train. It’s the #1 rule.
- Backpacks Off: If the train is crowded, take your backpack off and hold it, or put it between your feet.
- Survive Rush Hour (7:30-9:30 AM): This is the one time Tokyo trains are scary. Our honest advice? Avoid it. Especially with luggage. Have a leisurely breakfast and travel after 10 AM. Your trip will be 100% better.
You’re Ready!
That’s it.
- Get an IC Card on your phone.
- Use Google Maps.
- Be polite.
You’ve officially conquered the Tokyo train system.
Now that you know how to get around, the city is yours. And if you ever want a day off from navigating, and just want a friend to show you the hidden spots… well, that’s why we’re here.